Tile and Grout Cleaning: Remove Grime Without Surface Damage
Grout can stay dark after twenty minutes of scrubbing for a simple reason: the problem may not be ordinary dirt. Grease, soap film, hard-water minerals, mildew, old sealer, and worn grout can look similar, but they do not respond to the same cleaner.
Effective tile and grout cleaning starts with identifying the buildup and protecting the surface around it. This guide shows you how to choose the lowest-risk method, remove dirty rinse water, and tell when more scrubbing will not solve the problem.
Table of Contents
- Find Out What Is Making the Grout Look Dirty
- Check the Tile and Grout Before Choosing a Cleaner
- Match the Cleaning Method to the Buildup
- Deep-Clean Grout Without Grinding Dirt Back In
- The Rinse Step Determines How Long the Result Lasts
- Adjust the Method for Floors, Showers, and Backsplashes
- Use Steam Carefully on Sound, Compatible Surfaces
- Know When Cleaning Has Reached Its Limit
- What Professional Tile and Grout Cleaning May Cost
- Keep Grout Cleaner With Less Weekly Work
Find Out What Is Making the Grout Look Dirty
Do not begin with the strongest cleaner in the cupboard. First look at where the discoloration appears and how it feels.
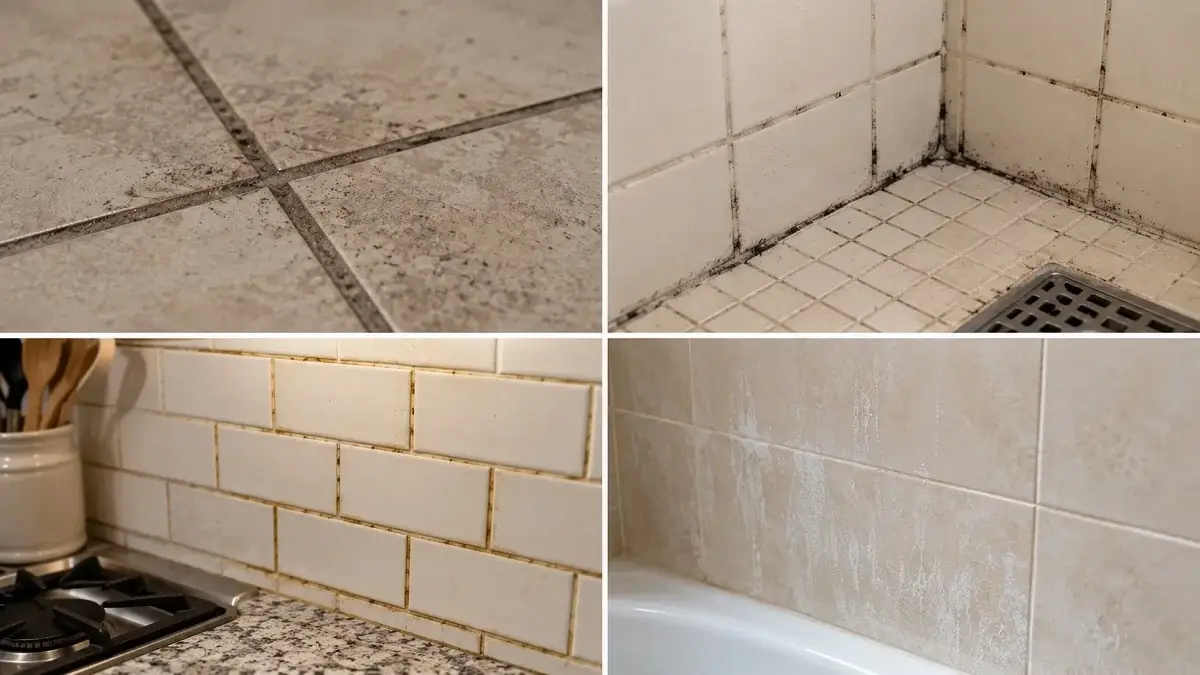
- Gray or brown floor grout: usually tracked-in soil, mop residue, cooking oil, or a mixture of all three.
- Yellow kitchen grout: often grease and food residue, especially near a stove.
- Pink or orange shower film: commonly grows where soap residue and moisture remain.
- White, chalky marks: point to hard-water minerals rather than ordinary dirt.
- Black spotting: may be surface mildew, stained grout, or growth behind failing caulk.
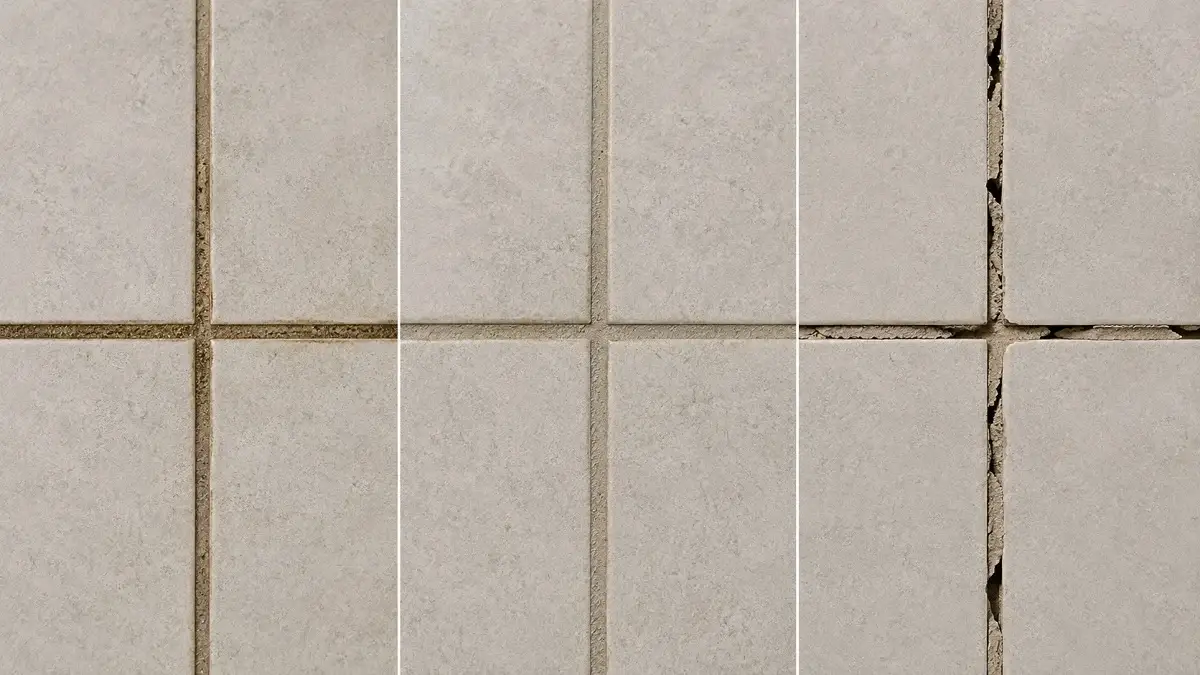
Clean a hidden six-inch section before judging the whole floor. If the test area becomes evenly lighter, cleaning is working. If nothing changes, the grout may be its original color, permanently stained, coated with failing sealer, or physically worn.
Check the Tile and Grout Before Choosing a Cleaner
Most household grout is either cement-based or epoxy. Cement grout is porous and may be sanded or unsanded. Epoxy grout is less absorbent and usually resists stains better. If you do not know which type you have, start with a mild pH-neutral cleaner and a hidden spot test.
The surrounding tile matters just as much. Glazed ceramic and porcelain tolerate many mild household cleaners. Marble, travertine, limestone, and other natural stone can be etched by acids. Vinegar may seem harmless, but material-care guidance warns that it can damage acid-sensitive stone. The safest default for an unknown surface is a cleaner specifically marked safe for that tile material.
Also inspect the joints. Stop if grout is cracked, powdery, missing, or moving under light pressure. Cleaning cannot rebuild a failing joint, and soaking damaged grout may send more moisture behind the tile.
Match the Cleaning Method to the Buildup
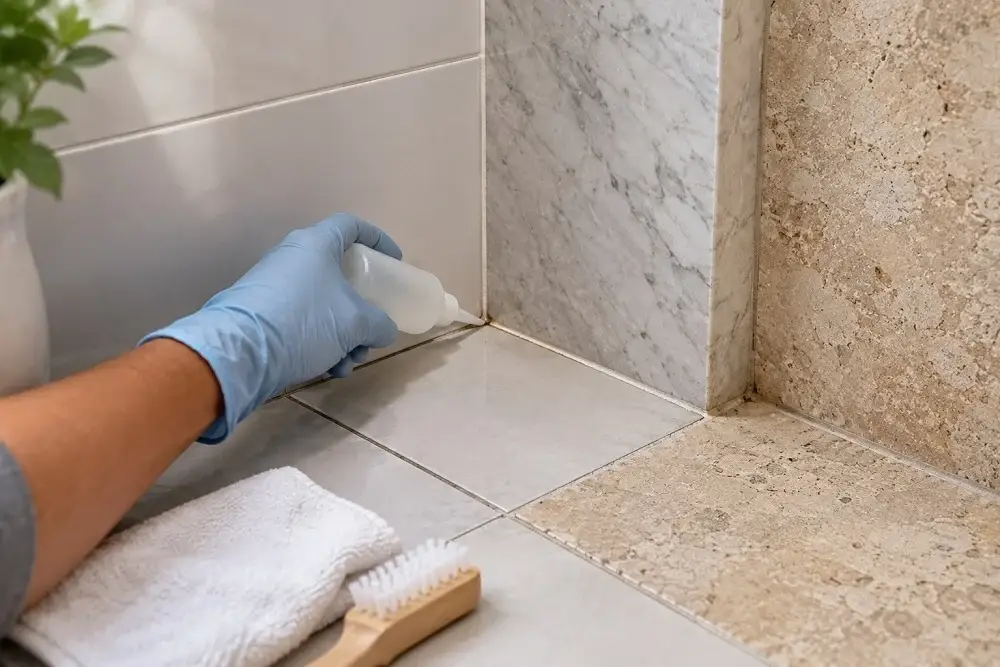
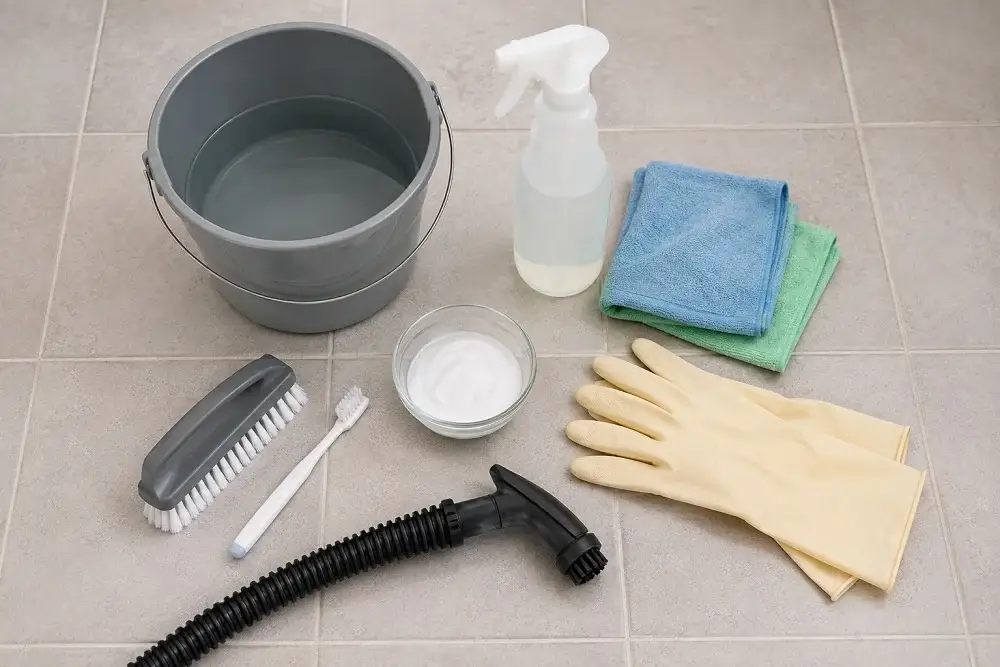
You do not need a shelf full of products. A small set of tools and the right chemistry for the stain will handle most jobs.
| Problem | Start with | Avoid |
|---|---|---|
| Loose floor dirt | Vacuum, warm water, and a nylon grout brush | Mopping before loose grit is removed |
| Kitchen grease | Mild alkaline cleaner or diluted dish soap | Oil soap and wax-based floor cleaner |
| Soap film | pH-neutral bathroom cleaner with adequate dwell time | Adding more soap, which can leave another film |
| Organic staining | Hydrogen peroxide or oxygen-based cleaner after a spot test | Routine full-strength chlorine bleach |
| Hard-water deposits | A cleaner approved for both the tile and grout type | Acids on marble, travertine, or limestone |
Never mix chlorine bleach with vinegar, ammonia, peroxide, or another cleaner. Use one method at a time, ventilate the room, wear gloves, and rinse before trying anything different.
Deep-Clean Grout Without Grinding Dirt Back In
- Remove dry debris. Vacuum or sweep carefully. Wetting dust and grit first turns them into muddy residue.
- Test a hidden section. Check for color change, dulling, or damage before covering a large area.
- Work in small zones. A section of about three square feet is easier to keep wet and rinse before residue dries.
- Apply cleaner to the joints. Do not flood the whole surface. Use the dilution and contact time stated for the cleaner.
- Allow dwell time. Five to ten minutes is common for mild cleaners, but the label takes priority. Do not let the solution dry.
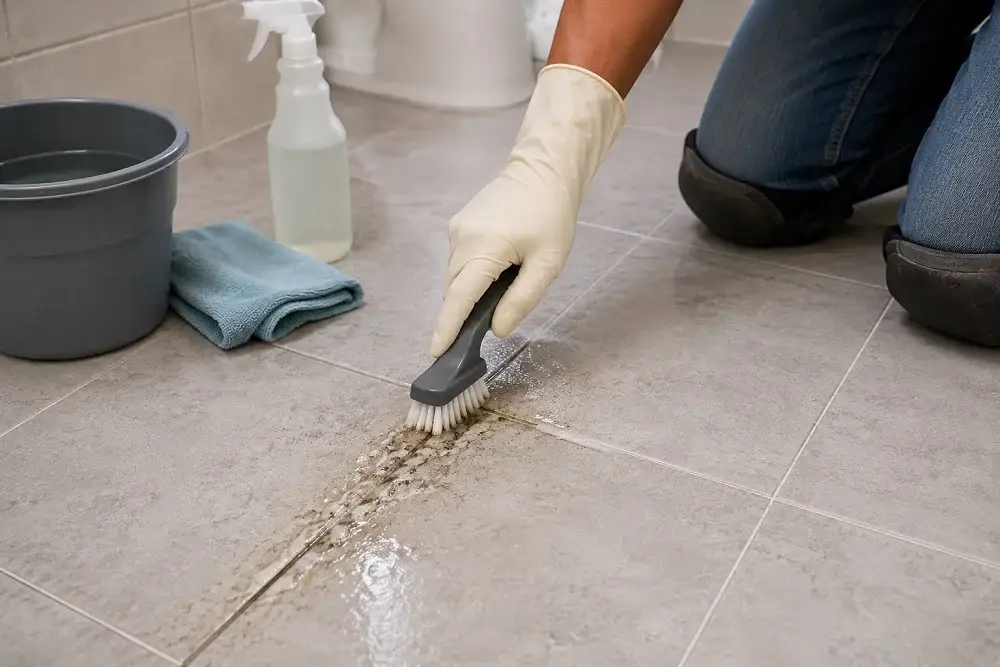
- Scrub with a nylon grout brush. Use controlled strokes along the joint. A metal brush can scratch tile and erode grout.
- Rinse with fresh water. Change the water as soon as it becomes cloudy.
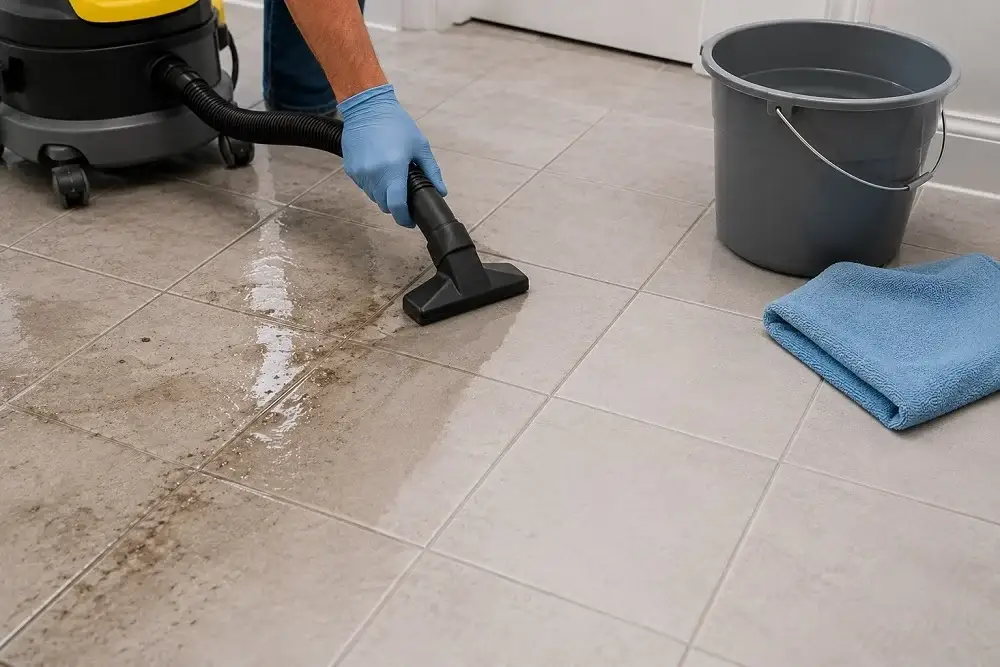
- Lift the dirty water. Use absorbent microfiber towels or a wet vacuum rather than spreading gray water with a mop.
- Dry the surface. Use towels, airflow, and the bathroom exhaust fan before assessing the final color.
For stubborn areas, repeat the same gentle cycle once. A second application with fresh solution is safer than pressing harder or reaching immediately for a harsher chemical.
The Rinse Step Determines How Long the Result Lasts
Many homeowners clean the stain but leave the loosened soil behind. Cement grout has tiny pores. When dirty water dries in those pores, the lines can look dull again within days.
Use clean rinse water for each section and collect it instead of pushing it toward an unclean area. A wet vacuum is helpful on large floors, but it is not required. Several clean microfiber towels work if you rotate them before they become saturated.
Residue matters too. If the tile feels tacky after drying, rinse it again. Leftover soap attracts new soil and can make the next cleaning harder.
Adjust the Method for Floors, Showers, and Backsplashes
Tile floors collect grit in low grout lines. Vacuum first, begin at the corner farthest from the exit, and avoid walking over damp joints. Knee pads and a long-handled grout brush make a large area less tiring.
Shower grout deals with soap residue, minerals, and constant moisture. Start at the top of a wall so loosened soil moves downward. Rinse well, dry the joints, and run the exhaust fan. If black staining sits inside cracked or peeling silicone, the caulk may need replacement rather than repeated bleaching.
Kitchen backsplashes usually need grease removal more than whitening. A mild alkaline solution and short dwell time help release cooking film. Protect outlets, painted cabinets, and stone counters from overspray.
Use Steam Carefully on Sound, Compatible Surfaces
Steam can loosen grime without leaving chemical residue. It works best on intact ceramic or porcelain installations with sound grout. Vacuum first, use the smallest suitable attachment, keep the tool moving, and wipe away released dirt as you work.
Avoid concentrating heat on one spot. Do not use steam on loose tile, crumbling grout, unknown coatings, or a surface whose manufacturer advises against it. Natural stone, recently repaired grout, and damaged seals need material-specific care.
Know When Cleaning Has Reached Its Limit
Grout does not have to become white to be clean. It may have been gray, beige, or brown from the day it was installed. Compare a hidden area under a removable fixture or inside a closet before trying to bleach it lighter.
If the joint is solid but its color remains uneven, a grout colorant may give a more consistent result than aggressive cleaning. If it is cracked, hollow, powdery, or missing, repair or regrouting is the correct next step. Recurring dark growth beside loose caulk or a damp wall can point to moisture behind the surface and should not be treated as a cosmetic stain.
What Professional Tile and Grout Cleaning May Cost
A large floor, limited mobility, or the need to extract dirty water may make outside help practical. Current U.S. cost estimates place professional tile and grout cleaning at roughly $0.50 to $5 per square foot, with many complete projects falling around $285 to $676. These are planning ranges, not fixed prices, and local minimum charges can make a small bathroom cost more per square foot.
The quote may change with tile size, the amount of grout, heavy staining, furniture moving, stairs, natural stone, or several cleaning passes. Sealing, color sealing, mold treatment, grout repair, and regrouting are separate tasks unless the written estimate says otherwise.
When comparing tile and grout cleaning services, ask what the price includes: pretreatment, agitation, rinsing, dirty-water extraction, drying, and sealer. A low price per square foot tells you little if rinsing or sealing is added later. Cleaning should not be sold as a repair for cracked or missing grout.
Keep Grout Cleaner With Less Weekly Work
Sweep or vacuum tile before mopping so grit does not settle in the joints. Use only the recommended amount of cleaner, change cloudy mop water, and wipe spills before porous grout absorbs them.
In a shower, use a squeegee after bathing and keep the exhaust fan running long enough to clear the moisture. Pay attention to leaks, slow drainage, and caulk gaps. Dry surfaces are less likely to develop recurring mildew and soap buildup.
Cement-based grout may benefit from a penetrating sealer once it is clean and fully dry. Epoxy grout often does not require one. Follow the grout and sealer manufacturers’ instructions rather than sealing automatically on a fixed calendar.
The useful test is not whether the grout looks brand new. It is whether the surface is clean, evenly rinsed, dry, and structurally sound. Once you separate removable buildup from permanent staining or damage, you can stop scrubbing and choose the repair—or no repair—the tile actually needs.