How to Blend Smart Home Technology With Interior Design
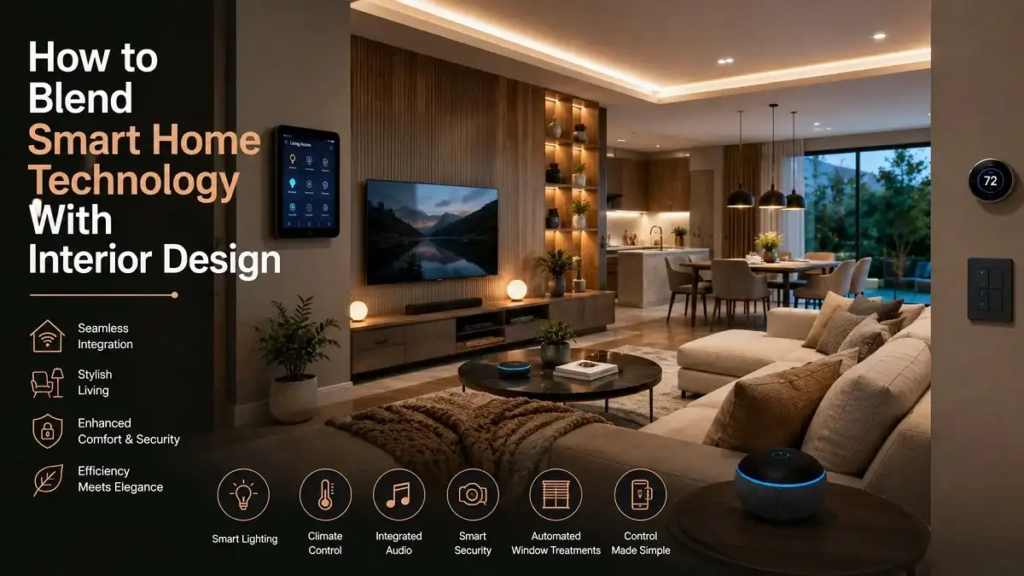
Smart home technology should make a room easier to use, not make it look like an electronics aisle. The best setup starts with the way you live, then fits lighting, climate, security, sound, and window controls into the design.
That order matters. Buying devices first often leaves visible wires, crowded outlets, mismatched switches, and several apps that do not work together. A design-first plan keeps the room calm while giving you the automation you will actually use.
Table of Contents
- Start With a Daily Routine, Not a Shopping List
- Choose One Control System Before Filling the House
- Plan the Wiring Before the Walls Are Finished
- Keep Switches Useful When the Internet Is Down
- Make Wall Controls Part of the Finish Schedule
- Hide the Equipment, Not Its Ventilation or Signal
- Use Smart Lighting to Improve the Room, Not Show Off the Bulbs
- Motorized Shades Need Early Coordination
- Place Screens and Speakers Around the Room
- Protect Privacy Before Connecting Cameras and Microphones
- Build a Smart Room in the Right Order
Start With a Daily Routine, Not a Shopping List
Write down what should happen in each room. A living room may need softer evening light, simple TV control, and hidden charging. A bedroom may need blackout shades, a comfortable night temperature, and one switch that turns everything off.
Turn those needs into a short list of actions. “Movie” could lower the shades and dim two lighting zones. “Goodnight” could lock supported doors, switch off downstairs lights, and lower the thermostat.
If a device does not support a useful routine, it may only add cost and clutter. This test also prevents novelty features from taking priority over reliable lighting and comfortable rooms.
Choose One Control System Before Filling the House
Compatibility is one of the hardest parts of a smart home. Products may use Wi-Fi, Thread, Zigbee, Z-Wave, Bluetooth, or a brand-specific hub. A logo on the box does not guarantee that every function will appear in your preferred app.
Choose the main platform first. Then check each device for the exact functions you need, not merely basic on-and-off support. Matter can improve cross-platform compatibility, but product features and platform support still vary.
Keep the number of apps and hubs reasonable. One dependable system with fewer devices is often easier to maintain than a collection of discounted gadgets from unrelated brands.
Plan the Wiring Before the Walls Are Finished
During a renovation or new build, decide where televisions, access points, cameras, speakers, shades, keypads, and charging stations will sit before drywall closes. Power and data in the right places remove the need for surface cables later.
Ask whether motorized shades need nearby power, whether a video doorbell has suitable wiring, and whether ceiling access will remain possible. Run conduit to locations where technology may change. Pulling a new cable through an empty conduit is easier than opening a finished wall.
Wireless products still depend on power and a good network. Plan Ethernet connections for fixed equipment where practical, then position Wi-Fi access points for even coverage rather than hiding one router in a distant cabinet.
Keep Switches Useful When the Internet Is Down
A smart home should still work when a phone is missing, a service is offline, or a guest enters the room. Lights need clear physical controls. Shades, thermostats, and locks should also have a practical manual option.
Use familiar switch locations and avoid placing several nearly identical keypads together. Labels should describe the result—such as “Cook,” “Relax,” or “All Off”—instead of the technology behind it.
Test the main routines without internet access before the installation is considered complete. Basic household functions should not depend entirely on a cloud service.
Make Wall Controls Part of the Finish Schedule
Switches, outlets, thermostats, sensors, cameras, and speakers all become visible design elements. Select their color and finish alongside paint, hardware, and lighting fixtures instead of treating them as last-minute electrical items.
White plastic can disappear on a light wall but stand out against dark paint or stone. Black, metal, or paintable options may fit better, provided the finish does not block a sensor or wireless signal.
Keep device styles consistent within each sightline. A neat row with matching plates looks intentional; scattered controls at different heights make even expensive technology feel unfinished.
Hide the Equipment, Not Its Ventilation or Signal
Routers, hubs, streaming boxes, and power supplies can often sit in ventilated cabinetry or a small equipment area. Leave room for airflow, cable bends, maintenance, and replacement.
Do not seal heat-producing equipment in a decorative box. Metal cabinets can weaken wireless signals, while deep closed storage may cause overheating. Confirm ventilation and signal strength before finalizing millwork.
Charging drawers reduce counter clutter when they include suitable outlets and airflow. Cable channels behind desks and media units keep cords controlled without making devices difficult to unplug.
Use Smart Lighting to Improve the Room, Not Show Off the Bulbs
Good smart lighting begins with layers: general light, task light, and accent light. Automation then makes those layers easier to control.
A kitchen may need bright task lighting for preparation and a warmer, lower scene for dinner. A hallway can use gentle nighttime lighting instead of turning on every ceiling fixture.
Check dimmer and bulb compatibility before installation. Poor combinations can flicker, buzz, or fail to dim smoothly. Also decide what the lights should do after a power cut; an unexpected return to full brightness is rarely welcome at night.
Motorized Shades Need Early Coordination
Smart shades affect the window treatment, electrical plan, and surrounding trim. Decide the fabric, roll direction, pocket size, power source, and control method together.
A recessed shade can look almost invisible when open, but only if the ceiling or window head has enough space. A battery model is easier to add later, although batteries must remain reachable.
Create useful scenes instead of constant movement. Closing west-facing shades during strong afternoon sun can reduce glare and heat. A bedroom schedule should always have an easy override for weekends or changing routines.
Place Screens and Speakers Around the Room
A television should not automatically take the best wall. Check seating distance, window reflections, artwork, fireplace heat, and cable access before choosing its position.
If the screen must share a formal room, consider a flush mount, a cabinet, a projector, or a display designed to show artwork when idle. The right choice depends on viewing quality and budget; hiding a TV should not make it uncomfortable to watch.
Speaker placement affects sound. Do not hide speakers behind solid doors or place them only where symmetry looks convenient. In-wall and in-ceiling models can reduce visual clutter, but their locations should follow the listening area and manufacturer guidance.
Protect Privacy Before Connecting Cameras and Microphones
Every connected device adds an account, data stream, or possible access point. Buy from manufacturers that clearly explain security updates and account controls.
Use unique passwords, enable multi-factor authentication, and install updates. Review who can view cameras, unlock doors, or change household settings. Remove access when a guest, contractor, or former resident no longer needs it.
Keep indoor cameras out of private spaces. Where possible, choose devices with a visible privacy shutter, local processing, or limited data collection. Convenience should not require constant monitoring inside the home.
Build a Smart Room in the Right Order
- Define the routine. Decide what the room should do at different times.
- Choose the platform. Confirm compatibility before purchasing devices.
- Mark every visible component. Include screens, sensors, switches, speakers, and shades.
- Plan power, data, and Wi-Fi. Do this before decorating or closing walls.
- Match finishes. Coordinate controls with paint, hardware, and fixtures.
- Keep manual controls. Make normal use possible without an app.
- Test failure points. Check internet loss, power recovery, guest use, and overrides.
Start with one room if the whole-home plan feels too large. Lighting, shades, climate, and one clear control method provide a useful test. Live with that setup before repeating it elsewhere.
Smart home interior design works when the technology supports the space quietly. A successful room does not need the most devices. It needs the right functions, dependable controls, clean installation, and a design that still feels like home.